Lets face it. Sometimes we need to photograph a scene when it’s not ‘”golden hour” and the light is flat and boring. There is a quick fix in Photoshop that I sometimes apply to save a photo from the lighting blahs. There are many variations on the warm glow technique so feel free to experiment when applying it to your own photos.
Lets face it. Sometimes we need to photograph a scene when it’s not ‘”golden hour” and the light is flat and boring. There is a quick fix in Photoshop that I sometimes apply to save a photo from the lighting blahs. There are many variations on the warm glow technique so feel free to experiment when applying it to your own photos.
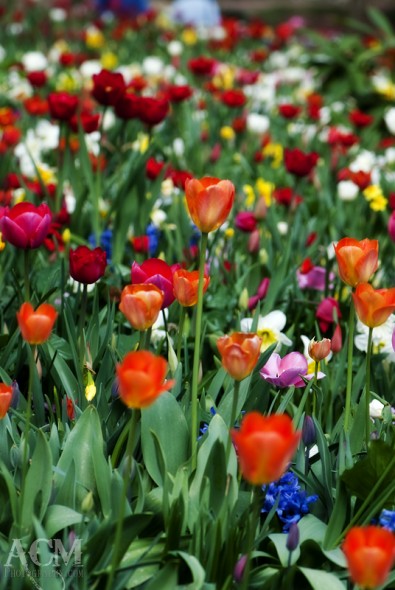
This is a photo that I took at the Groot-Bjigaarden castle gardens. I liked the way the flower bulbs had all been planted randomly and wanted to capture the brilliant colours. The sky was rather overcast so although the colours were quite well saturated, the image overall seemed a bit flat.
Below you can see the original RAW file open in Adobe Camera RAW:
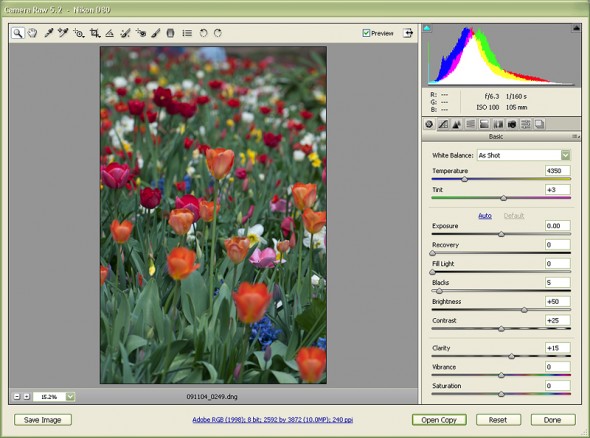
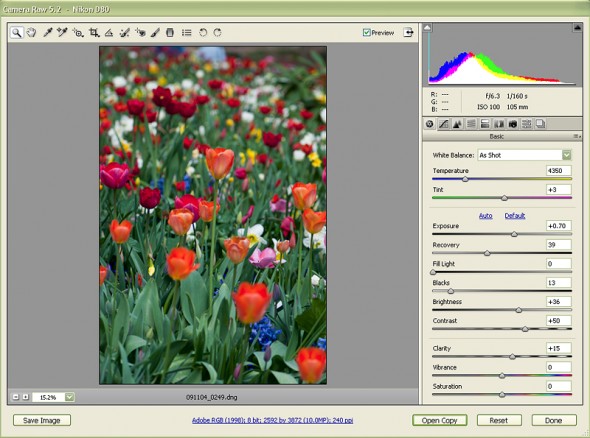
The first step is to edit the image in Camera RAW as you normally would. Below you can see that I pulled the exposure up a bit and also increased blacks to add a bit more contrast. I pulled the recovery slider up to maintain detail in the highlights. I left the clarity and vibrance alone here because the Warm Glow technique will add quite a bit of saturation, however for a very flat image you can increase these as well.
Now we need to open our image in Photoshop. Although this technique is possible in older versions, it works best in CS2 onward because you can use the Smart Object feature. I’m using CS4.
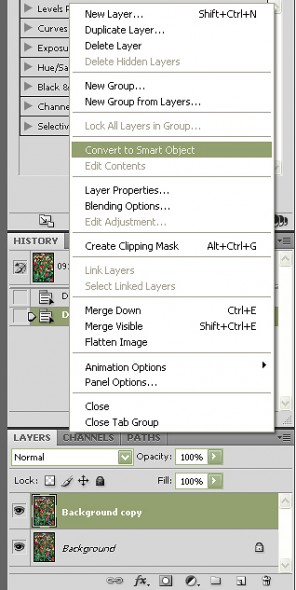
The first thing we do is duplicate our background layer by dragging it to the New Layer icon in the layers palette. Then we want to select Convert to Smart Object, as you can see below:
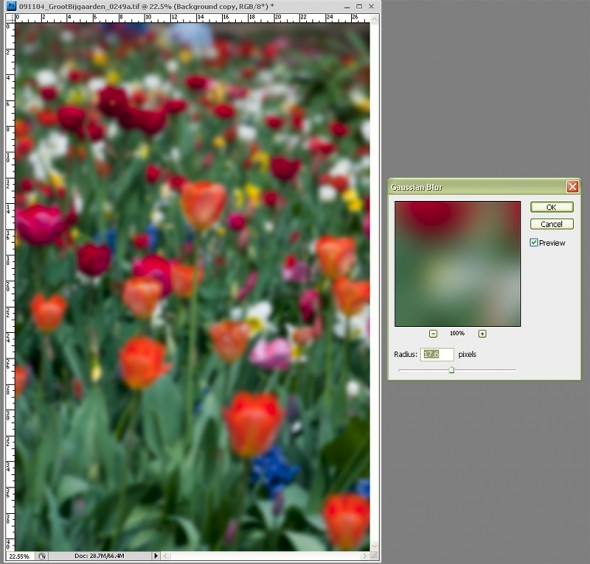
We are now going to add a soft blur to our Smart Object. Go to the Filters menu and select Blur>Gaussian Blur. Select enough blur so that your image is fuzzy but keeps the basic outline of the shapes. This is usually 15-20 pixels.
Now to get our detail back and see the first stage of our glow, we need to change the Blend Mode of our Smart Object layer. For most images Soft Light works best and is what I will use here. However you can also get good results with Multiply and Overlay, depending on the image so do experiment here.
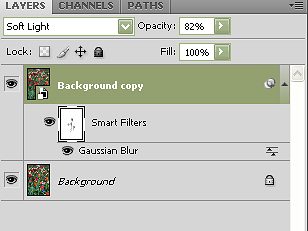
Now we need to decrease our opacity so we get some detail from the Background layer coming through. So I’ve set the layer opacity to 82%.
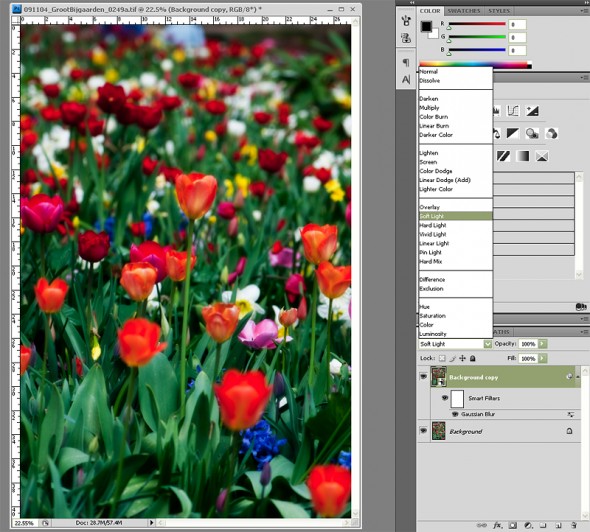
Often there is an element in the image that should retain its sharpness. In this photo I wanted the orange tulip in the middle as well as those close to it, to be sharper. Because we’ve made our Gaussian Blur a Smart Filter, all I need to do is select the Smart Filter mask and paint with black where I want to block out the blur. Use your brush at a low opacity and build your mask up gradually until you get the desired level of sharpness.
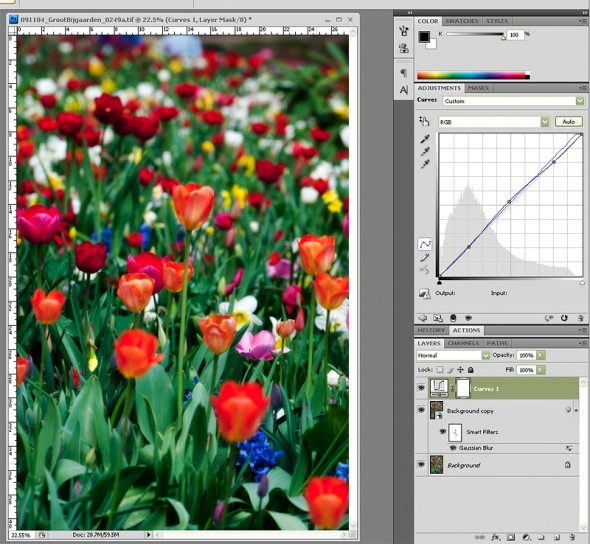
The last thing I’m going to do is add a curves adjustment layer to brighten things up a bit. This may not always be necessary. If you do adjust your curves you may need to go back and tweak the opacity of your Smart Object. I’ve pulled mine back to 75%.
So here is my photo before and after the Warm Glow Technique:
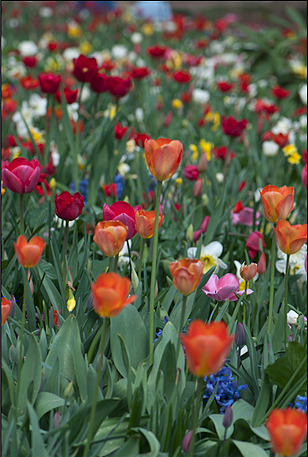
This technique works really well as an action because you can run the basic settings and then tweak the opacity levels of the various layers to suit each different image.